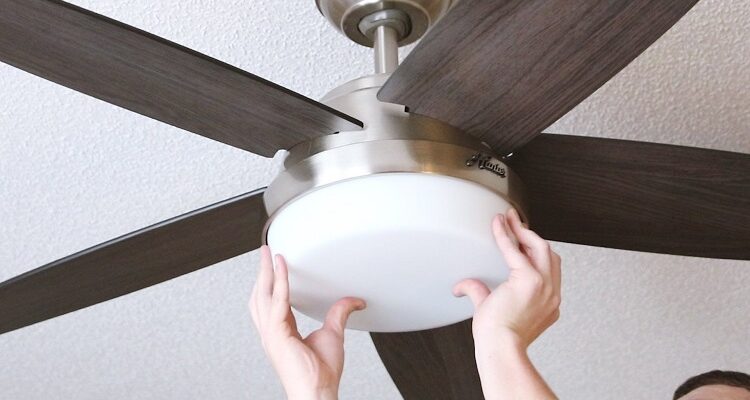
A ceiling fan is probably one of the most useful electrical inventions to date. From cooling you down during summers to circulating heat during winters, there are countless benefits of installing a ceiling fan. However, the two main reasons why these fans are growing in popularity are: increased comfort and reduced energy consumption cost. Moreover, it boosts the lifespan of your air-conditioning system by reducing the strain on it. In a nutshell, installing a ceiling fan in your room will be a worthwhile decision.
Now the question here is how exactly can you install a ceiling fan in a room where no fixture exists? As this process involves installing new wiring, it’s better that you look for professional electrical contractors for it. This will save you a lot of time and effort too.
Here’s a step by step guide followed by electricians to install a ceiling fan in a room where no wiring exists;
Table of Contents
1-Shutting Down The Electricity To The Circuit
When wiring the fan to the switch, the very first thing you need to do is to turn off the circuit breaker that delivers power to the circuit. This is extremely important because if the power supply isn’t turned off, it can lead to electrocution, and it might even kill someone.
2-Determining The Location Of The Ceiling Fan
The next step is to determine the location where you want the ceiling fan installed. For this, you have to consider the fan’s weight, which probably will be between 15 and 50 pounds. Just ensure that the place you are choosing comes with strong support joists because if the fan isn’t attached to the ceiling properly, it can become a huge safety risk.
3-Installing The Electrical Box
After selecting the location, you then have to work on installing the electrical box. If there’s a single support joist in the location, you can simply nail the entire box into the joist. But if there are two joists, then you’d need a brace and a saddle for providing support to the fan.
Steps to follow when the location has two joists;
- Cutting a hole right between the two support joists
- Push a fan brace through the hole with the electrical box attached
- Follow the manufacturer’s instructions to secure the brace.
- Now add a saddle over the fan base in order to run wiring through it.
Running Electrical Wiring to Your New Ceiling Fan
Working with your home’s electrical wiring is one dangerous business. There are many safety hazards involved, so you should seek professional help instead of putting yourself at risk. In this process, you have to choose a wall switch that will control your fan. You have to add wires through it and take them up to the location where your fan is installed. Using fish tape here will make it easier for you to pull the new wiring to your desired location.
Connecting The Wires
In your wall’s switch box, you need to connect the new wires with hot, neutral, and ground wires. The connection and the method of wiring will vary as per your requirements of controlling the ceiling fan.
Mount The New Ceiling Fan
After installing the electrical box and connecting the wires in your switch, you then have to work on assembling and mounting the fan. For this, you should follow the instructions provided by the manufacturer. After mounting the fan, turn back on the power supply and test the fan to check if it’s working properly or not.
Overall Verdict
This is how electricians install a ceiling fan where no fixture exists. It’s a simple and easy process, but at the same time, it’s dangerous as working with electrical wires can be risky. This is why it’s recommended that you seek professional help for the installation. Depending on the fan’s complexity, it will take an electrician somewhat around 5 to 6 hours to install a new fan in a room where no fixtures exist. Now that you know how to get things done hire an expert electrician, and start the installation right away.
Learn more about various steps you can take in order to improve the overall look of your house, on this website: www.rough-draft.net


Comments